.png)
November 17, 2015
Saving filters using views
.png)
In this third short tutorial in the series (did you try the others yet?), Hector Parada shows you how to save filtered lists using views. So grab a coffee and learn a new NAV trick…
Have you ever thought about how to save your filters? If you are bored of typing the same filters over and over again then I have a tip for you: Views.
Views are just that, a way to save your filtered lists in NAV. And here is how to use them! First, apply your filters in a list page. For example in the customer list I want to review those assigned to one Responsibility Center:
.png)
Additionally, let’s add a date filter to filter on the current month Sales, Profit and Balance. This can be done by typing ‘-CM..CM’ in the date filter:
.png)
Once you press tab, the ‘-CM’ is substituted by the first day of the current month, and CM is substituted by the last day of the current month:
.png)
It’s a great advantage to define dates with this kind of formula, as they will be updated automatically in the following months (remember that we want to save these filters!). I will explain in more detail which kind of date expressions we can use in future tips.
The Date filter is applied to the to the amount fields such as “Sales (LCY)”, “Profit (LCY)”:
.png)
Next, click on the list name, on the left-top of the list and click on “Save View As…”
.png)
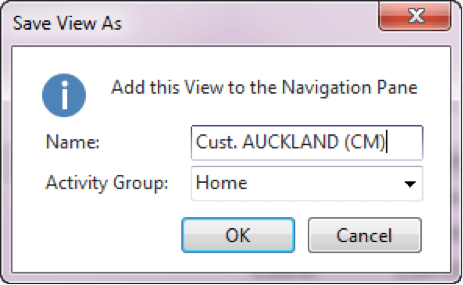
Finally, give your view a name and place it wherever you want to have it for further queries:

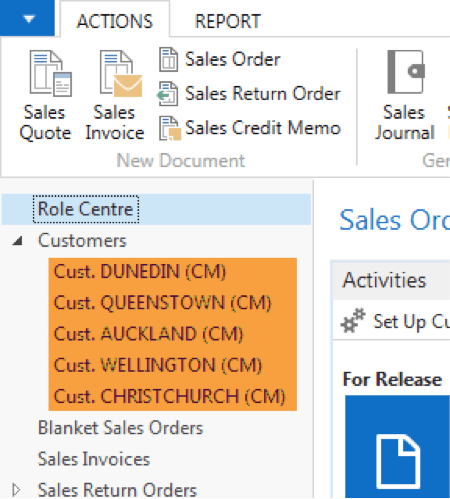
You can save as many views as you want, they will appear under your main list name on the navigation pane. Here I have views for all my Responsibility Centres; with just one click I can see the current month situation one by one:


.jpg)

.png)
.png)
%20(700%20x%20500%20px)%20(1).png)

